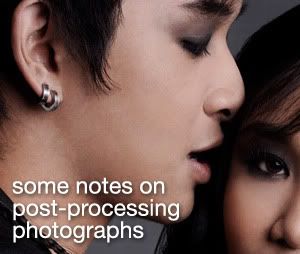
When boredom attacks, I always end up doing unexpected things. Lately, I've been hanging out with friends doing absolutely nothing. Obviously I got bored, picked up my camera and experimented. I wanted to come up with photos looking like they were taken using a lomo camera... Over saturated, high in contrast, having psychedelic colors and looking as if they were taken not following the traditional rules (perfect exposure, well composed, etc etc).
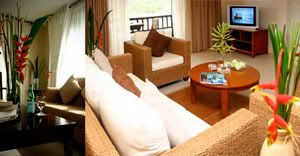
THE COLORS
I am no expert with picture control settings of my camera so i just decided mess up with it. After experimenting and a few test shots... I came up with these setttings...
VIVID
sharpening 5
contrast +3
brightness +1
saturation +2 (or it really depends on how saturated you want your photos to be)
hue - 3
WB (if gonna be used in daylight or with a flash) 2940K
G-M G5
A-B A4
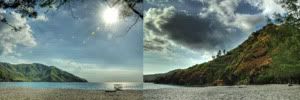
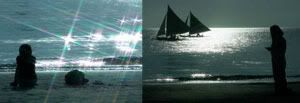
THE EXPOSURE
As for the exposure, I wanted the ambient lights to affect the final photo so i followed my usual work flow when dealing with flash and ambient light (I've learned this from the Nikon
website)... first, use the camera mode in auto mode to come up with the right exposure so that the ambient lights will end up showing in/ affecting the photo, then use the settings given by the auto mode in manual mode and use my flash, off-camera, to light up the subject. also, the zoom setting of my flash was 85mm so that it had that "spot light" feel. The flash power? well it really depends on you. but I think over exposing the subject looked nice.
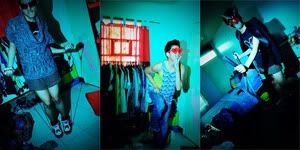
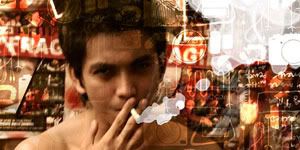
MULTI EXPOSURE
Since d90 also has this multi exposure feature, I decided to use it to come up with multi-exposed lomo-looking photos.
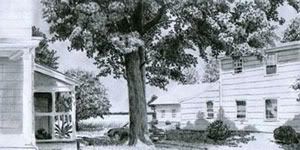
VIGNETTE
The vignette.... we were taught back in my college photography class how to manually give photos those soft black corners. Either, burn and dodge the photo when developing it in the darkroom or just cut a piece of black paper and tape it at the end of your lens hood (you're basically extending your lens hood until you see black edges when you looked through the viewfinder). I did the latter, of course.
Anyway what's important if you want to able to take photos like these, you just have to remember the keywords... experiment, play and have fun.
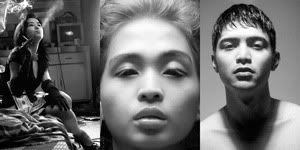
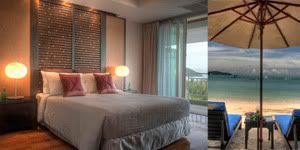
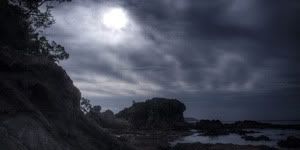
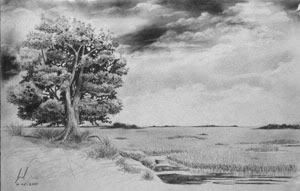
enough said.. here are the photos....
Click here to view full entry...