
This tutorial will teach you how to edit your photo to give it that roughly painted / impressionism effect I did in my previous post.

you will be needing:
-a tablet
-know-how in Corel Painter and Adobe Photoshop
-Corel Painter (I'm using Painter X)
-Adobe Photoshop
-a keen eye for details
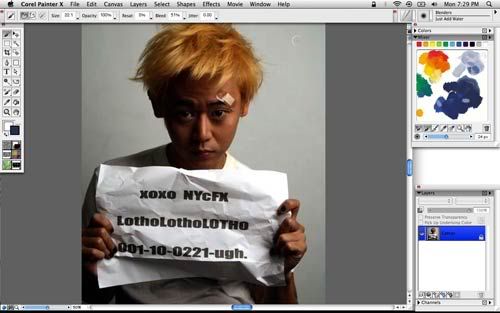
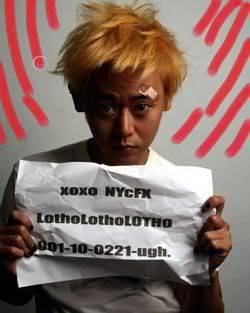
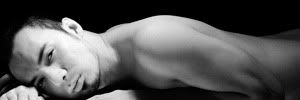
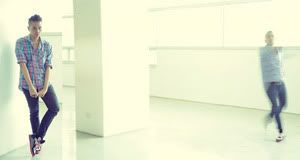
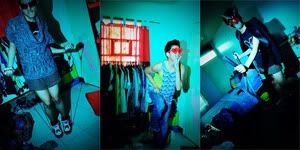
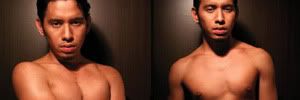
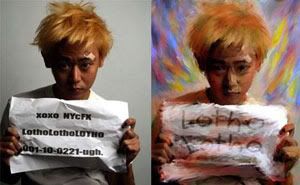
Open the jpeg file in corel painter.
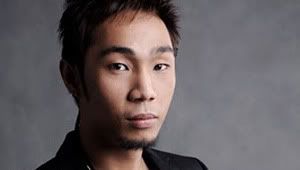
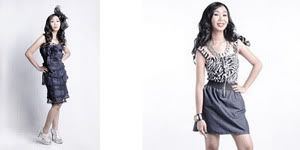
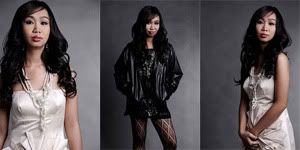
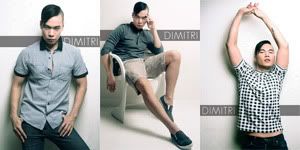
I'm gonna use my friend, Lotho's pic in this tutorial. Lotho, BTW, is a very talented, fab and one of the most sought after stylists here in Manila. Checkout his blog in ISKANDALOSA.
The resolution of the photo is 1250 x 1563 pixels.
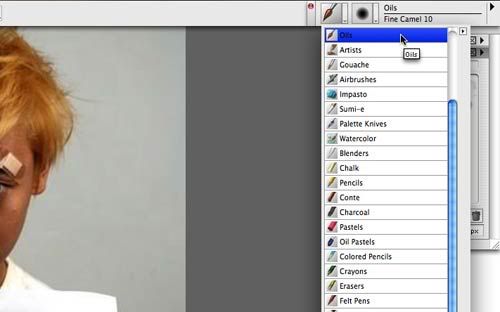
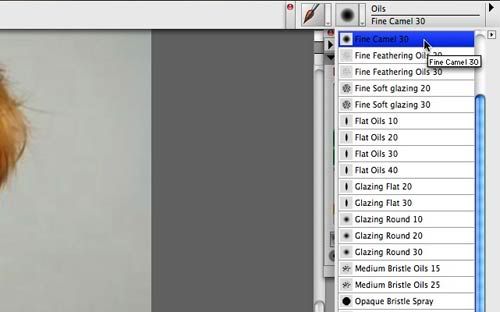
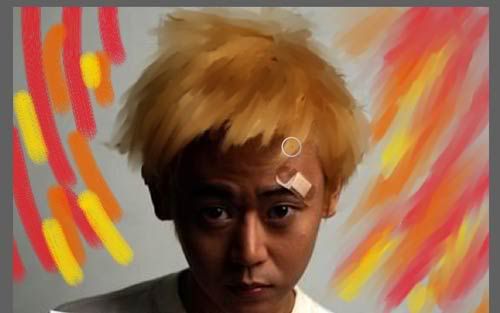
The background of the photo is plain and I wanted to put in some colors. use the brush tool and select oil and then fine camel brush. In this photo, I'm gonna use the shades of red, orange and yellow.
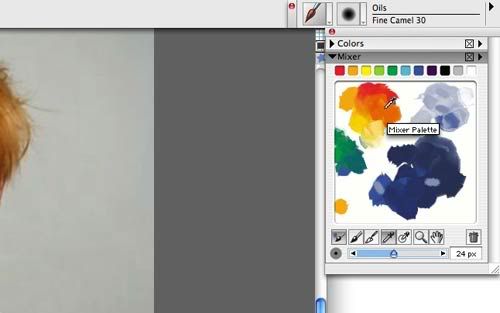
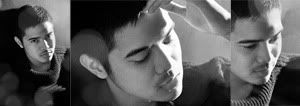
now... paint...

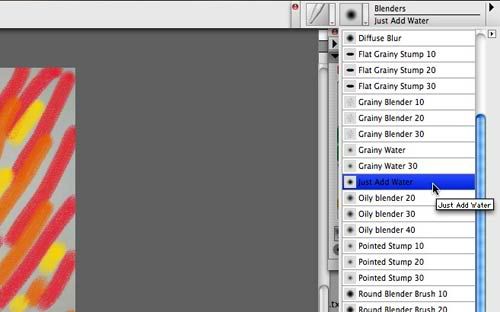
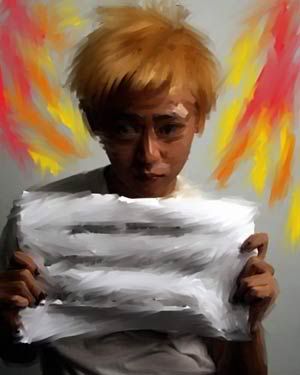
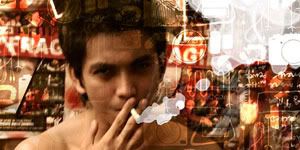
Its now time to blend the colors and distort the whole picture...
Using the brush tool, select blenders and then "just add water."
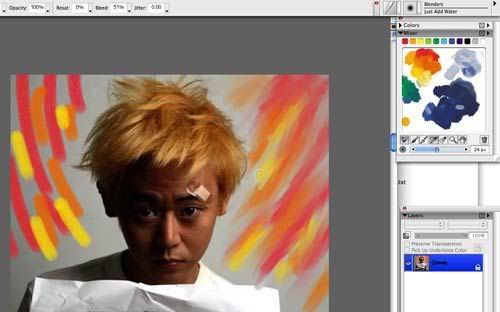
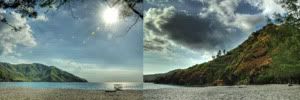
Use a brush size that you think would be great in distorting the photo.

Distort the photo using this brush...
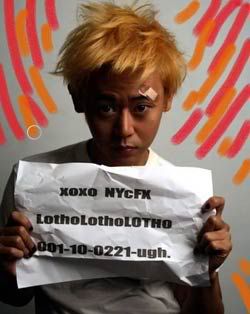
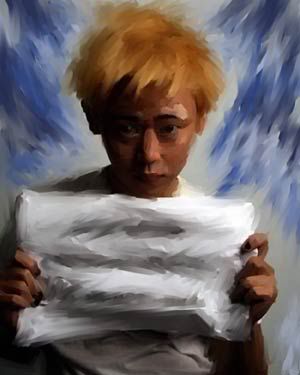
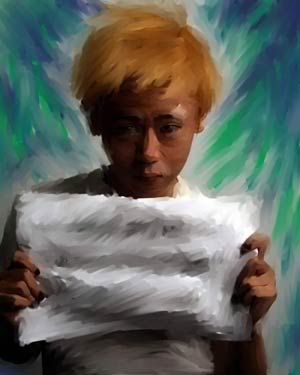
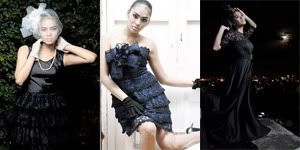
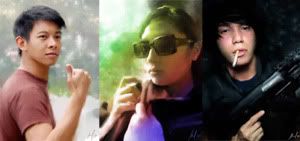
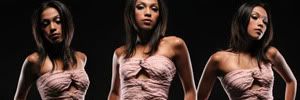
Create atleast three versions of this distorted photo. In the other versions I created, I used blues and greens in the background.
now open the three photos you distorted in photoshop
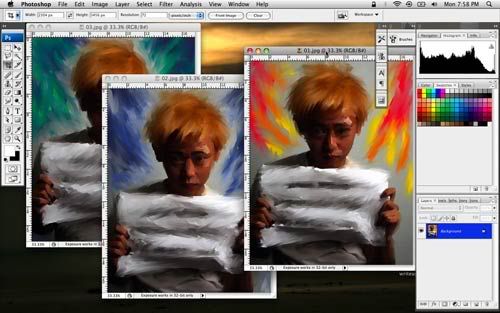
drag the photos into one PSD file
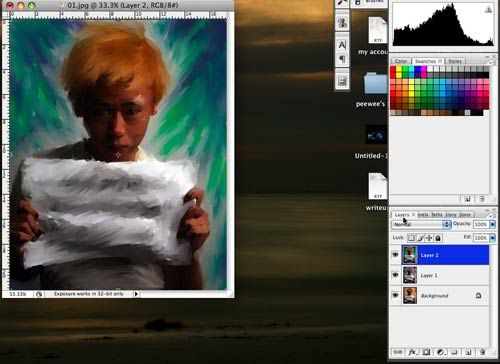
The keyword is "PLAY!"
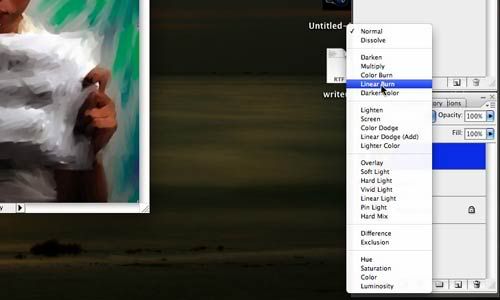
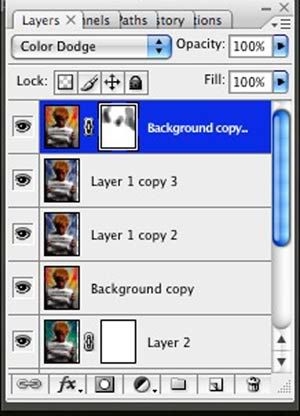
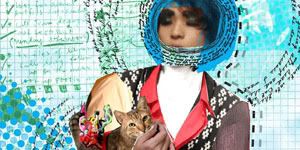
The trick now here is layering and masking: play around with the settings of each layer ( multiply, linear burn, difference, overlay, soft light, screen, etc etc) and mask out those part of the photo which you think needs masking.
Flatten the PSD file and adjust levels, hue, saturation etc etc. if needed.
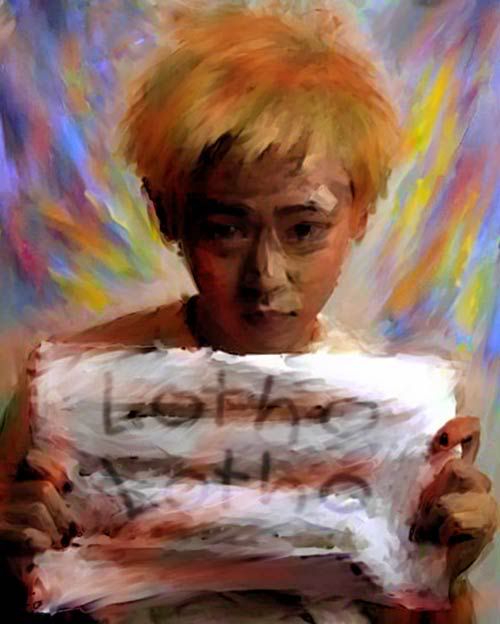
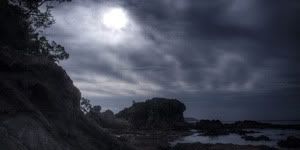
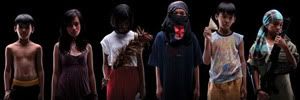
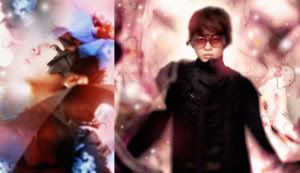
This is my final artwork:
If you have any questions, pls leave a comment and I would gladly answer it for you. =)

The background of the photo is plain and I wanted to put in some colors. use the brush tool and select oil and then fine camel brush. In this photo, I'm gonna use the shades of red, orange and yellow.


now... paint...


Its now time to blend the colors and distort the whole picture...
Using the brush tool, select blenders and then "just add water."
Use a brush size that you think would be great in distorting the photo.


Distort the photo using this brush...


Create atleast three versions of this distorted photo. In the other versions I created, I used blues and greens in the background.


now open the three photos you distorted in photoshop

drag the photos into one PSD file

The keyword is "PLAY!"
The trick now here is layering and masking: play around with the settings of each layer ( multiply, linear burn, difference, overlay, soft light, screen, etc etc) and mask out those part of the photo which you think needs masking.


Flatten the PSD file and adjust levels, hue, saturation etc etc. if needed.
This is my final artwork:


Salamat LonelyBoy. :)
ReplyDeleteyou're welcome. happy birthday :-)
ReplyDeleteLove This. Thx.
ReplyDelete